Repairing and Restoring Furniture for Beginners
For When Things Are Rough Around the Edges
By Kaaden Dull
If you’re in the market to fix up some furniture, there’s only one word you need to know: potential. Folks who restore furniture have an eagle eye for what could be and they understand how to get there. This beginner’s guide will help you get that rough-and-tumble dining table to a polished, smooth and oh-so-antique feel.
Is Your Furniture Worth Restoring?
Before you start down the “I’m going to refinish everything in my house over the weekend” rabbit hole, take a look at what you’re trying to restore. Is that “chair” a pile of scraps or is it recognizable to other people as a chair? Here are a few things to assess when you’re itching for a project:
How Old Is It?
As a general rule of thumb, furniture that’s made it past 40-50 years starts to increase in value. Within the last 25 years, furniture has been typically made with particle board and low-quality woods like poplar and rubberwood – if you think your furniture is within that 25-year timeline, it might not be possible to restore it.
Is It Structurally Sound?
Older furniture pieces typically have higher-quality materials and traditional joinery techniques that help them hold up over time. You can recognize solid woods if the grain wraps around the edges, corners or underside of a particular piece – solid wood is also a lot heavier. For joinery, look for interlocking pins and tails on the corners of drawers or a post and hole structure at 90-degree angles in the frame.
Not Worth It
Restoring furniture can be a more economical and sustainable choice – but some pieces just shouldn’t make the cut. If it is primarily made of particleboard, has severe structural damage like rot or pest infestation or has no unique design or sentimental value, then it’s likely that its time is done. Also, if you have something made of bonded leather – where the top layer is peeling away like a bad sunburn – it can’t be repaired.
What Tools and Equipment Do You Need to Refinish Furniture?
For all of these projects, you should have protection equipment. A proper fit is key, so safety glasses for men or safety glasses for women are an absolute must alongside any of our men’s work gloves or women’s work gloves. You should also wear a quality respirator mask – we recommend not breathing in sawdust, chemicals and everything else that doesn’t naturally occur in your body. Make sure the area is outdoors or well-ventilated and put a drop cloth on the floor to protect your workspace. Neoprene knee-pad inserts also wouldn’t hurt.
(See our knee-pad compatible Men's DuluthFlex Fire Hose Ultimate Relaxed Fit Cargo Pants)
Wood
Wood isn’t too difficult to restore, but it can definitely be very time-consuming. Here’s a good starter kit:
- Stripping and Scraping Tools – if the furniture has paint on it or a stubborn stain, you’ll need a chemical stripper and some scraping knives
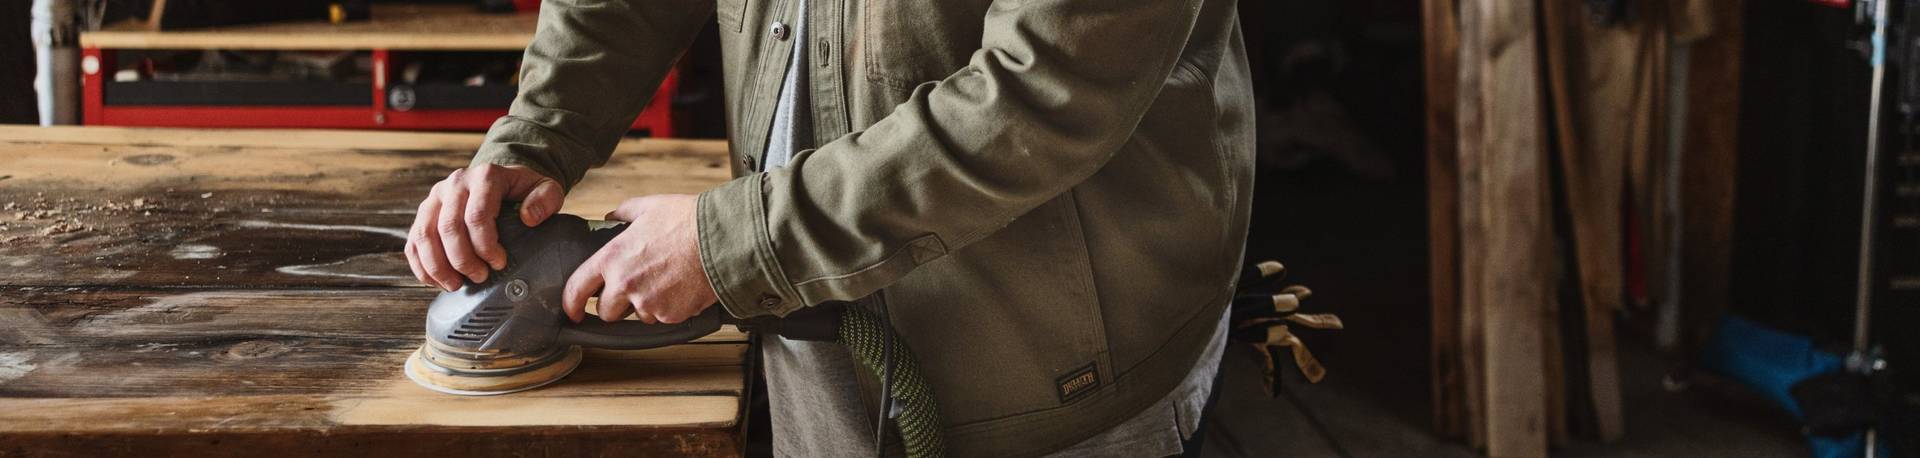
- Orbital Sander and Sanding Pads – for taking off stain and smoothing out scuffs; start with coarser grits, then move to fine
- Steel Wool or Brass Brushes – for the stubborn, hard-to-reach residues
- Wood Filler – fill in any dents or gouges
- Clean Synthetic Brushes – painting on stain and topcoats
- Aprons – stain and paint gets messy
Let a chemical stripper loosen any paint, then you can get to scraping. Sand off the stain until the piece is one consistent color. Follow the directions for your particular stain and topcoat and that nightstand will look jaw-droppingly good.
Leather and Cloth
Leather and cloth can be a bit trickier and might require some professional help to restore – especially if that leather couch has holes in it. If you’re just looking to zhuzh it up a little, here’s how you can get started:
- Removal Tools – staple removers, tack lifters, needle-nose pliers, heavy-duty fabric shears
- Measuring Tape – if you’re redoing sections of the material, you’ll need to know how much cloth or leather you’ll need to cover it
- Tailor’s Chalk – marking your measurements
- Fastening Equipment – staple guns or a rubber mallet and tacks
- Upholstery Needles and Sewing Equipment – if you don’t shy away from a needle and thread, you’ll need some heavy-duty tools to make sturdy upholstery
- Steamer or Iron – smooth out your fabric and expand compressed foam
- Antique or Vintage Stain Remover – read the label and make sure it’s safe for your material
- Two-Part Leather Cleaning and Restoration Kit – lots of hardware stores sell these for aging leather
There are lots of resources online to guide you through cloth and leather repairs specifically. You can also call your local leatherworker or upholsterer for tips or professional repair services.
Metal and Hardware
Metal and hardware can appear surprisingly simple, but don’t be fooled – it takes more than a spit polish for metal to look like a lucky penny again. Make sure you’ve got all the right equipment:
- Bucket and Sponge – get grease and dirt off with warm soapy water and microfiber cloths
- Denatured Alcohol or Acetone – also to get off dirt and grease with a little extra oompf
- Wire Brush or Steel Wool – rust and paint removal; pair with a chemical stripper if needed
- 80-220 Grit Sandpaper – rough up the surface for primer and sealant
- Rust-Inhibiting Primer, Paint and Finish – make sure you match water-based products with other water-based products and oil-based with oil-based
- Paint Sprayer or Paintbrushes – smooth application for all your products
- Painter’s Tape – mask off any areas you don't want paint or chemicals on
Quick Tip: Organize your tool bags by project type to avoid tool or chemical mix-ups.
What Are The Most Common DIY Furniture Refinishing Mistakes?
The biggest mistake for furniture restoration is not taking your time. Rushing the process because you want that coffee table before your dinner party is not the way to go. Rome was not built in a day and your grandma’s antique dresser won’t be either. Plan out when you’re going to work on your piece and give yourself lots of extra cushion in case you need it. Some other mistakes along with cutting corners:
- Skipping Cleaning and Prep Work
- Sanding Against the Grain or Stopping Too Soon
- Not Waiting the Proper Amount of Time for Chemical Strippers
- Assuming Something Is Solid Wood Without Checking
- Applying New Coats Before Something Is Fully Dry
- Ignoring Structural Repairs Before Refinishing